There is a tool for that called “jhead”, which is in the ubuntu repositories.
This command automatically renames all jpg files in the current folder and all subfolders:
find . -iname *.jpg -exec jhead -nf%Y-%m-%d_%H-%M-%S {} \;
There is a tool for that called “jhead”, which is in the ubuntu repositories.
This command automatically renames all jpg files in the current folder and all subfolders:
find . -iname *.jpg -exec jhead -nf%Y-%m-%d_%H-%M-%S {} \;
Nothing new and nothing surprising, but it still was painful to find out:
Do not use valgrind or helgrind in combination with the c++ compiler options -p and -pg for profiling.
This gave me some strange behavior of my app with sleeps not sleeping. I only had a crashing application, no clue what might be wrong with my code and the error message “Profiling timer expired”.
Just switch off the profiling options and everything was find, except the errors that I wanted valgrind to find for me.
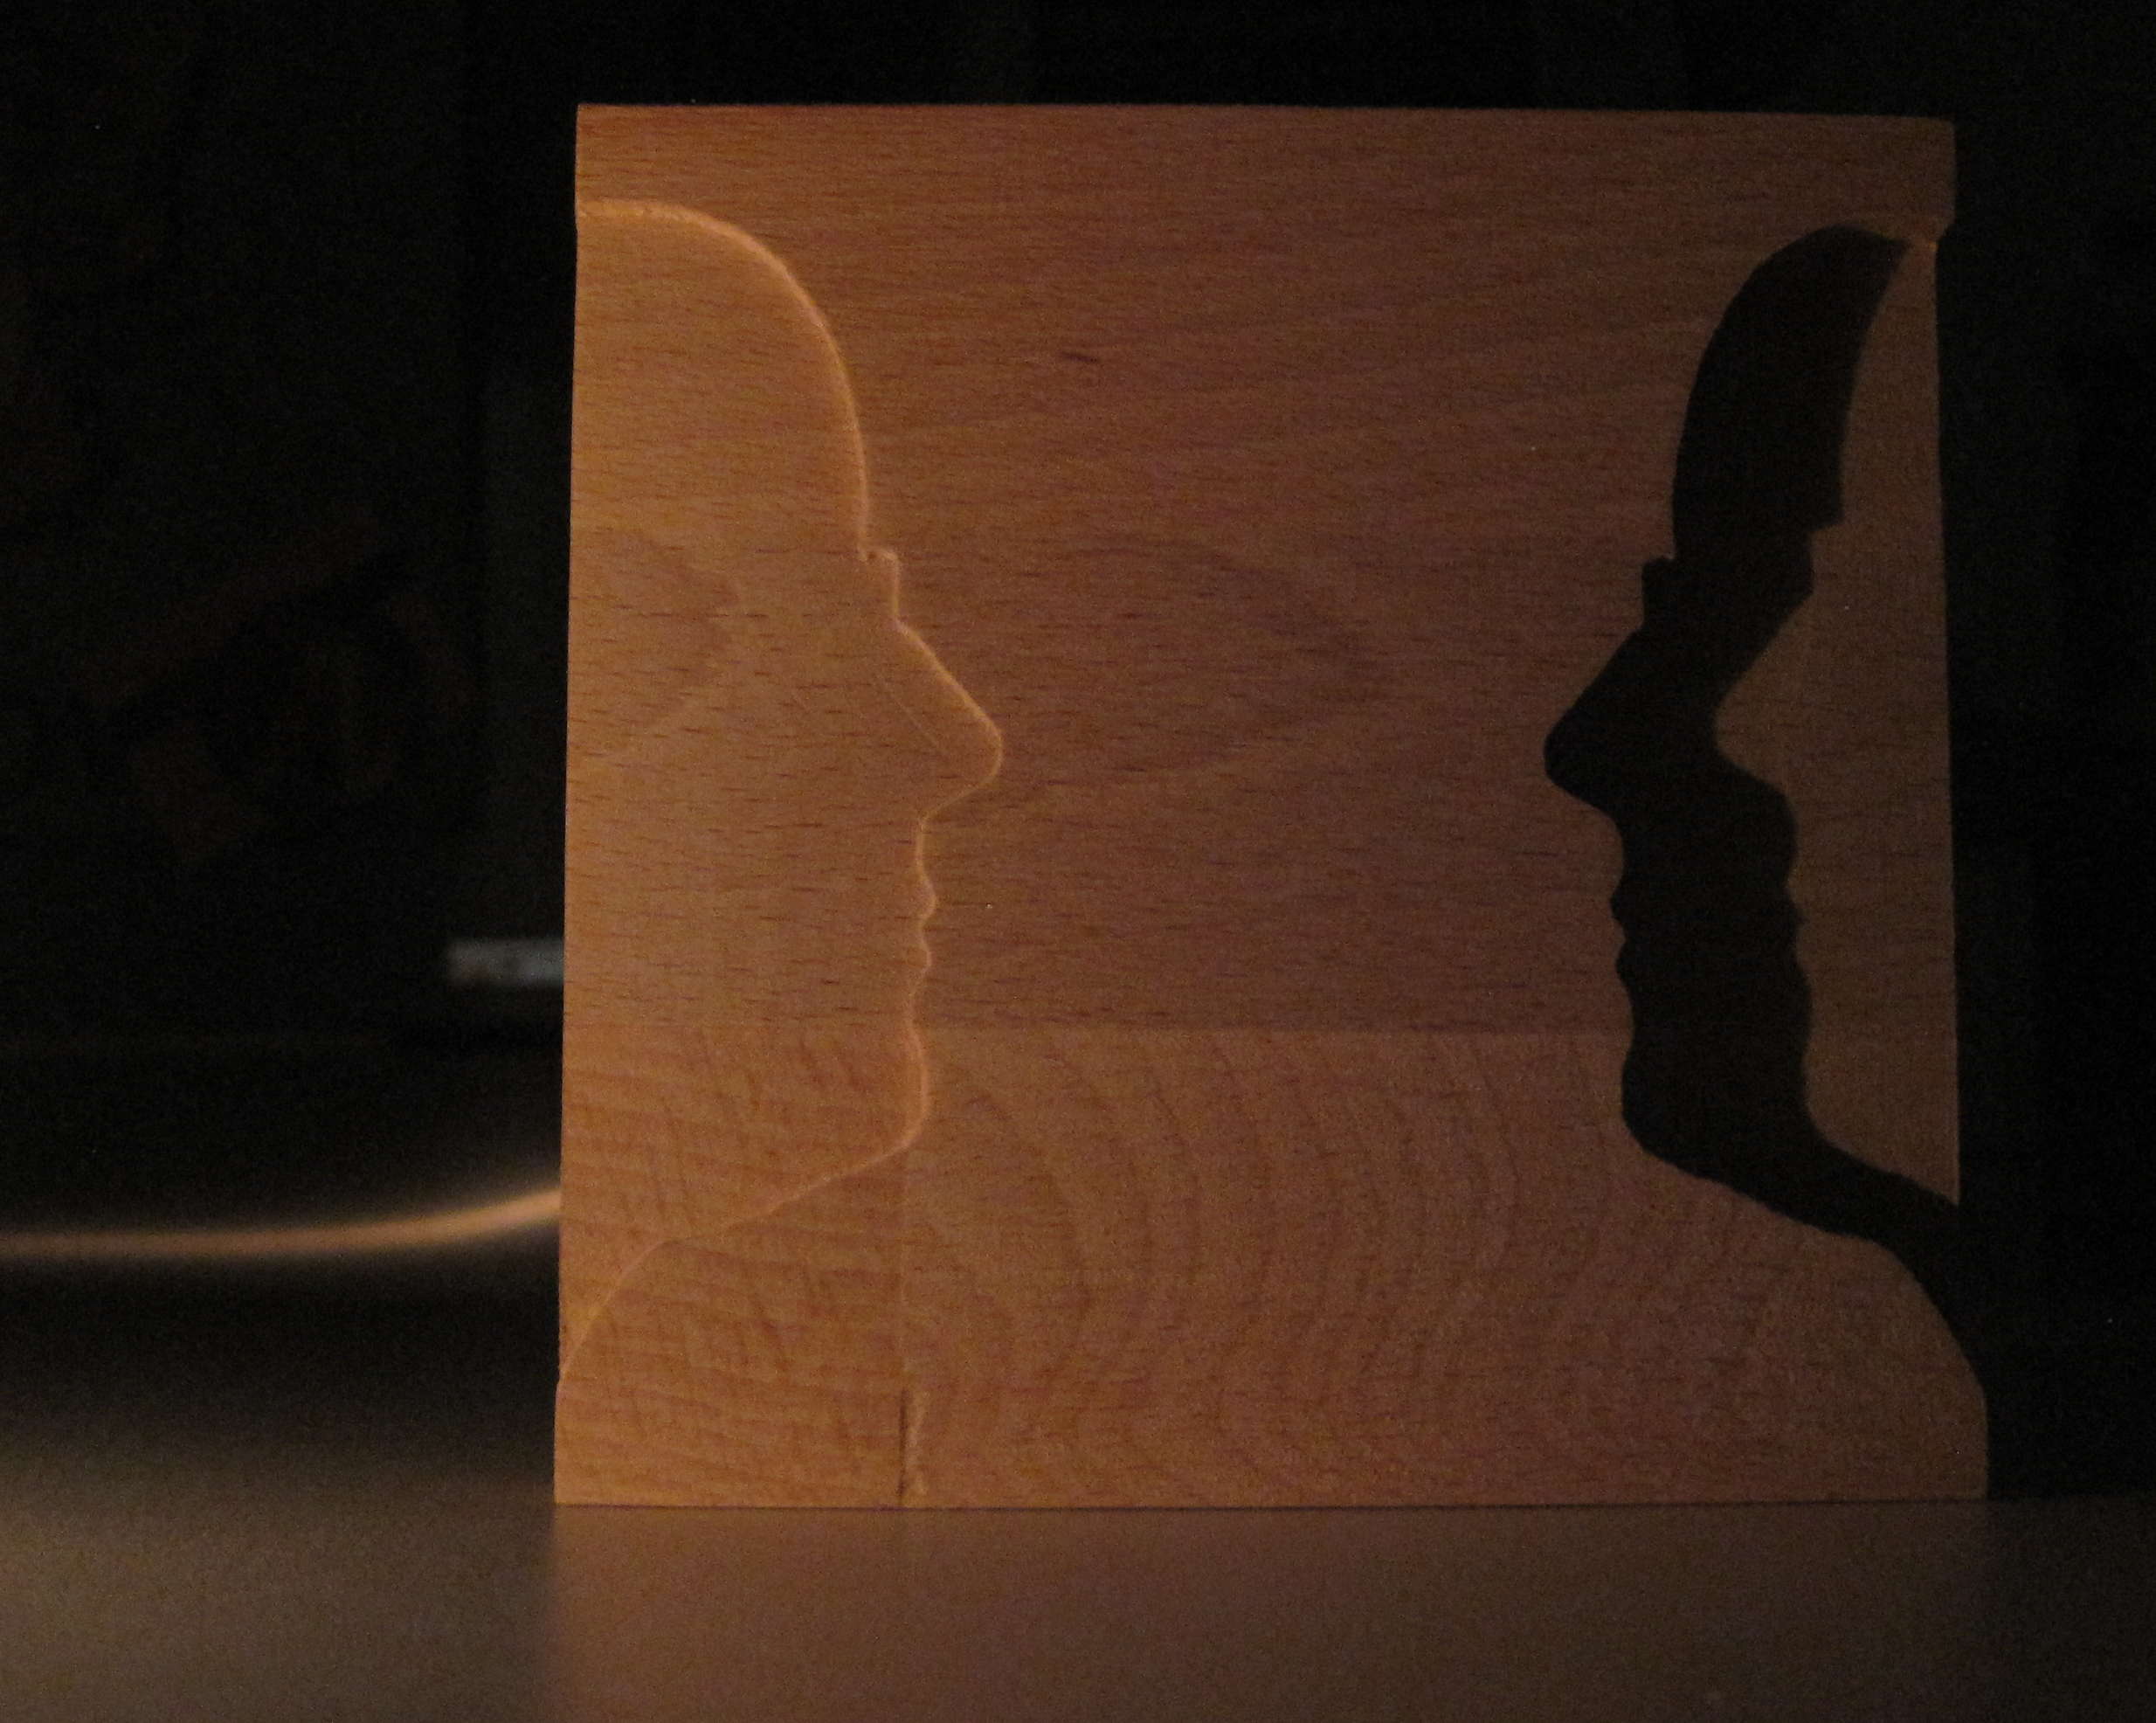
Silhouette
This thing does not serve any particular purpose. It is just playing with the silhouette of my wive cut out of wood and a candle for illumination.
I somehow lost the knob for selecting the power of my microwave. It took several iterations but I finally made a new one. It is not winning any prices for beauty, but it works.
It is made out of two parts: The thing that acually plugs into the microwave and a round knob. That way I can replace them idependently when one breaks.

Microwave knob (back side)

Microwave knob (front side)
Again I spent some time searching for free tools to improve my cnc toolchain. I stumbled upon two simple but helpful flash programs for handling g-code files:
C#
var watch = Stopwatch.StartNew();
// the code that you want to measure comes here
watch.Stop();
var elapsedMs = watch.ElapsedMilliseconds;
Taken from: http://stackoverflow.com/questions/14019510/calculate-the-execution-time-of-a-method
Many tutorials already exist, that cover building bladeRF drivers, Gnuradio, Osmocom and GQRX from source. The main difference here is, that I will NOT install the built packages into my system directories or modify system files. Instead I will keep them separately in a folder in my home directory and use a startup script, that temporarily sets up the environment using the software. That way I can just delete the folder, reboot and I have a “clean” system again.
Why should I go this way? Well, I like to experiment a lot, sometimes I’m working on several projects in parallel. That also includes messing up stuff. The described strategy offers the easiest way to clean up and start over again without reinstalling the operating system.
I’m starting off with a fresh Ubuntu 13.10 (beta) here. First we install several packages that set up the build environment.
sudo apt-get install git g++ cmake cmake-curses-gui libboost-all-dev libfftw3-dev libcppunit-dev python swig python-numpy doxygen python-cheetah python-gtk2-dev libgsl0-dev qt-sdk libqwt-dev python-qt4-dev python-qwt5-qt4 jackd qjackctl libsdl1.2-dev liblog4cpp5-dev phonon-backend-gstreamer phonon-backend-vlc libusb-1.0-0-dev libtecla1-dev python-wxgtk2.8 wx2.8-headers libjack-jackd2-dev
Let’s build stuff. Run these steps without superuser priviledges and change the pathnames according to your system. You will notice, that I use ccmake instead of cmake. This is a convenient tool to inspect and edit the available build settings. You could also go with cmake using the apropriate command parameters.
git clone http://git.gnuradio.org/git/gnuradio.git
cd gnuradio
mkdir build
cd build/
ccmake ../
Edit CMAKE_INSTALL_PREFIX: /home/matthias/downloads/sdr/installed
make
make install
git clone https://github.com/Nuand/bladeRF.git
cd bladeRF/host
mkdir build
cd build/
ccmake ../
Edit CMAKE_INSTALL_PREFIX: /home/matthias/downloads/sdr/installed
Set INSTALL_UDEV_RULES to OFF
make
make install
There might be errors about not beeing able to install some rules to a system directory. Ignore this for now.
git clone git://git.osmocom.org/rtl-sdr.git
cd rtl-sdr
mkdir build
cd build/
ccmake ../
Edit CMAKE_INSTALL_PREFIX: /home/matthias/downloads/sdr/installed
Edit Gnuradio_DIR: /home/matthias/downloads/sdr/installed/lib/cmake/gnuradio
make
make install
git clone git://git.osmocom.org/gr-osmosdr
cd gr-osmosdr
mkdir build
cd build/
ccmake ../
Edit CMAKE_INSTALL_PREFIX: /home/matthias/downloads/sdr/installed
make
make install
git clone https://github.com/csete/gqrx
mkdir build
cd build
PKG_CONFIG_PATH=/home/matthias/downloads/sdr/installed/lib/pkgconfig/ qmake-qt4 PREFIX=/home/matthias/downloads/sdr/installed ../
LD_LIBRARY_PATH=/home/matthias/downloads/sdr/installed/lib make
make install
Ok, we are done compiling. If you examined the commands, then you propably guessed how to run the programs. However it is painfull to enter these long commands each time when you start the programs, so we create some nice scripts to ease the pain.
I spent several hours searching the internet for a CAM program, that can generate g-code from my CAD drawings. There is a lot of partially functional programs or some for very specific purposes, but nothing really pleasing. Finally I found HeeksCNC (http://code.google.com/p/heekscnc/downloads/list). It has some issues as well, but I like the general concept.The g-code is generated semi-automatic where the user has to define the shapes the machine should process.
If you import models from FreeCAD for example, then the workflow is:
Note to myself: One day I will transform my CNC mill to a rapid prototyping machine that prints parts using plastic filament. There exist many different designs and ready to use extruders. The one I want to try is called “Multex” from www.multec.de
I built a CNC machine recently and one of the first things to do is of course to improve it. I used fritzing (http://fritzing.org/) to draw my circuit. When I was done I realized that I had no software at hand, that could make g-code from the exported gerber files. After some research I found:
I managed to produce a one layered pcb that now drives my CNC machine.