Prequel
I am doing audio recordings as one of my hobbies. Part of my equipment is the Tascam US-1641 external USB soundcard. When I set the device up for the first time, I was angry that the software, that came with it (some Cubase light edition) forced me to do a long and painful registration. Of course there is no linux driver (which I could have checked before I bougth the device) and besides audacity (which isn’t a digital audio workstation) and other expensive software I couldn’t find software for Windows I liked. So I finally registrated the software to be able to use my new soundcard.
I have been using linux only for a long time. Now I had to boot into a Windows installation only for doing recordings. The audio editing I always do with Audacity and Ardour anyways. So this was all in all a very invonvenient solution. I contacted the customer support and asked for linux drivers. Tascam only pointed me to some other devices with linux support. These weren’t official driver by Tascam, but instead some linux enthusiast wrote ALSA drivers for the devices he owned.
I looked into these drivers to find hints what to do with my US-1641. Sadly I couldn’t figure out how they work and I also failed to understand the concepts behind ALSA driver development. I finally gave up and decided to take a different approach.
I need the device for recording audio. I don’t want to listen to audio with it and I have no need for realtime and low latency. So I decided to directly grab the data from the device without using ALSA or JACK. This way I could concentrate on the USB communication and I could skip the time-critical complexity of the linux audio systems.
Step 1: Exploring USB communication
I read some theory about USB communication (http://www.beyondlogic.org/usbnutshell/usb1.shtml, http://en.wikipedia.org/wiki/Universal_Serial_Bus) and quickly stumbled upon the libusb project and its documentation (http://libusb.sourceforge.net/api-1.0/). The libusb is great and it is my choice for doing the low level USB communication. Of course I didn’t want to (and am not skilled enough to) reimplement the whole USB stack. The libusb makes sending and receiving data from a USB device very convenient. Now I “only” needed to figure out what to send and what to read. That is of course the trickiest part, because there is no specification publicly available which describes the communication protocol between the Tascam US-1641 device and the Windows driver.
Step 2: Probing the device
The USB protocol itself enforces, that a device provides basic descriptors about its capabilities. This data can be displayed using the linux tool “lsusb”.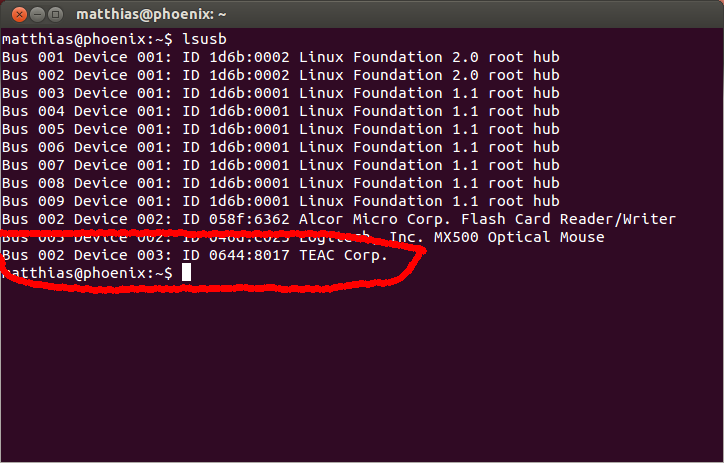
Even without any driver a USB device registers to the system. It shows the vendor ID (0x0644) and the device ID (0x8017). These are used to identify the device later. Currently it is connected to Bus 2 and has the number 3, but these might change when the system reboots or if you plug it into another USB socket. But lsusb can do more. Run “lsusb —v”. You get a long list with details about every USB device connected to the system. Have a look at this textfile to see the whole output lsusb.txt
What I learned from this data
- It helped me to understand the whole concept behind the USB data transfer. The terms “configurations”, “interfaces”, “interface settings” and “endpoints” started to make sense to me.
- I found 1 configuration containing 2 interface descriptors. Each interface descriptor has 2 different settings, where only the second setting contains actual endpoints for data transfer. At this time I couldn’t figure out what that means. Later I found out, that when the device boots up, it starts using the first interface settings that don’t contain endpoints. Therefore no data is transmitted until the alternate settings are magically activated.
- Somewhere on the internet you can find specifications for “Standard USB Audio Devices”. These devices can be adressed by a generic usb audio driver. These devices have special values for “interface class”, “interface sub class” and “interface protocol”. My soundcard returns the values (255,0,0) for these descriptors. This basically means everything about the device protocol is marked as vendor specific. They didn’t follow USB audio standards or at least not totally. So I couldn’t expect that standard audio drivers would work.
- The descriptors told me what kind of data transfers the soundcard supports. I know from the specefication that it transfers audio to the pc with at least 16 mono channels, and 4 mono channels transmit (at least) to the soundcards. The soundcard also has midi in/out. The list of endpoints follows below but for now there is no hint which endpoints are used for audio transfers.
- Endpoint 1: Isochronous In
- Endpoint 2: Isochronous Out
- Endpoint 3: Bulk In
- Endpoint 4: Bulk Out
- Endpoint 6: Bulk In
Step 3: Spying on the original driver
So what next? I learned a lot, but still didn’t know how to use the soundcard. I suspected that it had to be initialized by some magic, but how to find out? First I used USBSnoop running on my Windows where I also had the original soundcard drivers. I wasn’t happy with the software so I installed VirtualBox on my linux machine. I installed Windows in a virtual machine, setup direct access on the USB port and installed the soundcard drivers. What is the difference to the previous approach? I could use Wireshark which not only understands networking protocols, but also USB. I started logging with wireshark, powered on my soundcard and watched the data flow to my virtual Windows machine. I noticed that the USB connection between Windows and the soundcard wasn’t very stable. I wasn’t able to really play sounds on the virtual machine, but nevertheless I got a lot of useful information.
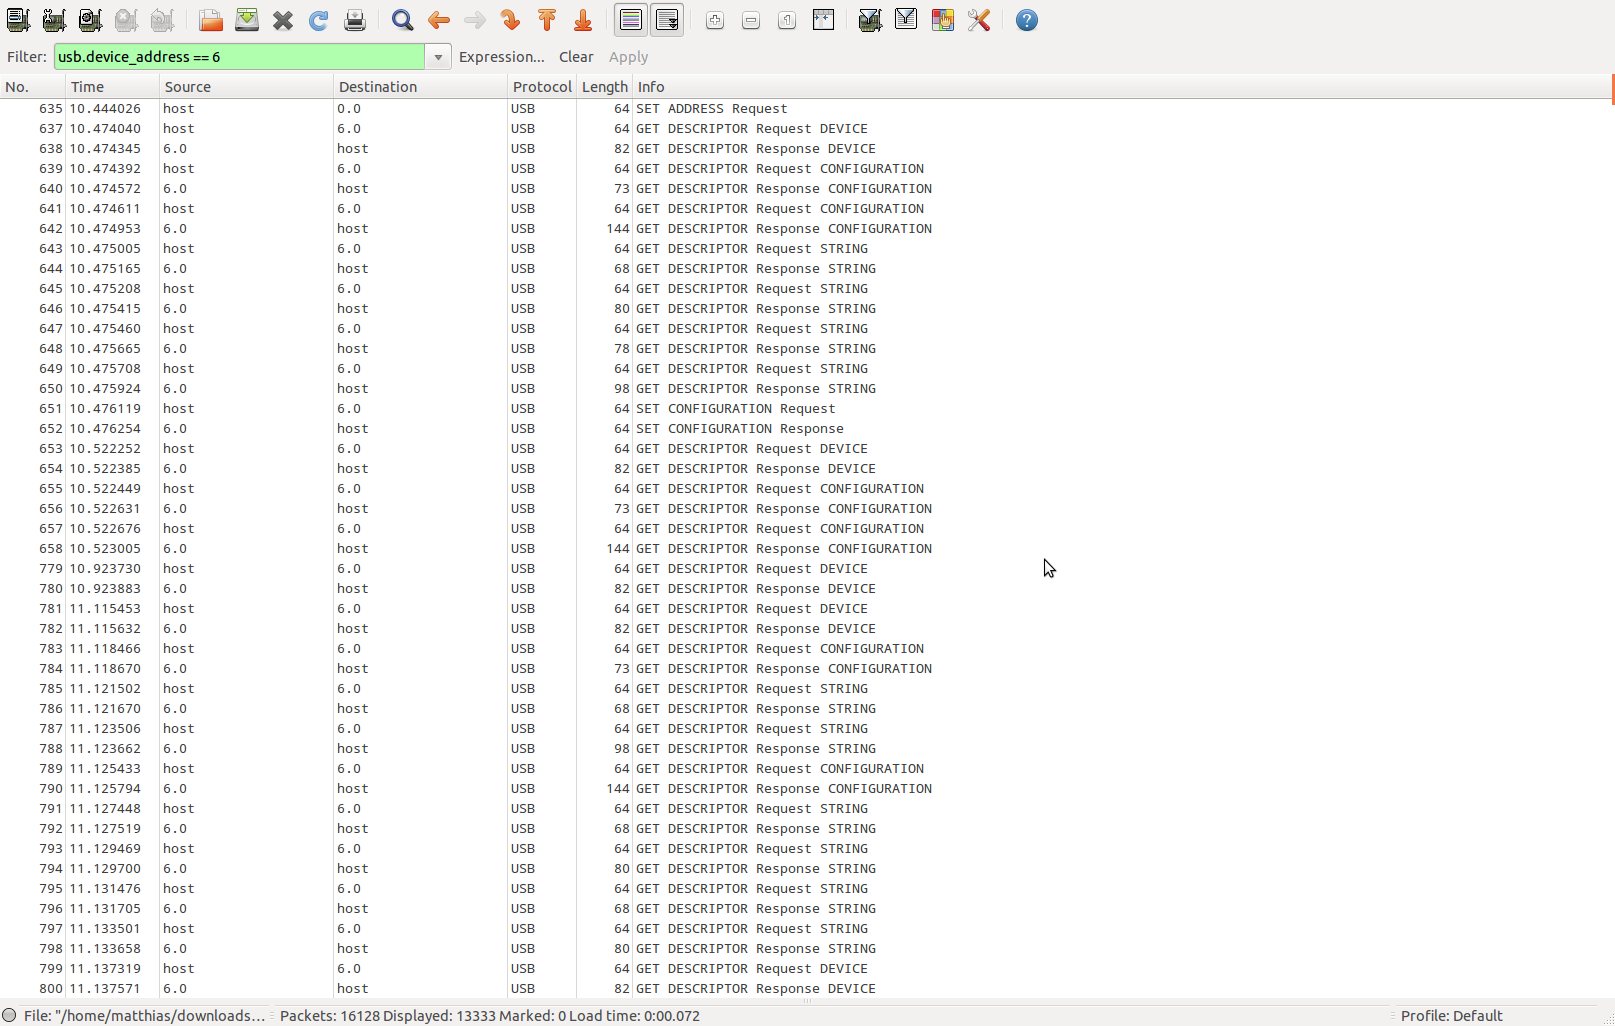
First I had to filter out all USB messages that were not for my soundcard. I was surprised to see how much traffic there is even when I do not use any devices. The lsusb command shown above gave me the current device number (here it is 6) so I could filter for all messages for this device.
I inspected these messages and found that these messages contain the information that is also output by lsusb. So nothing exciting going on here. But then there was something special:
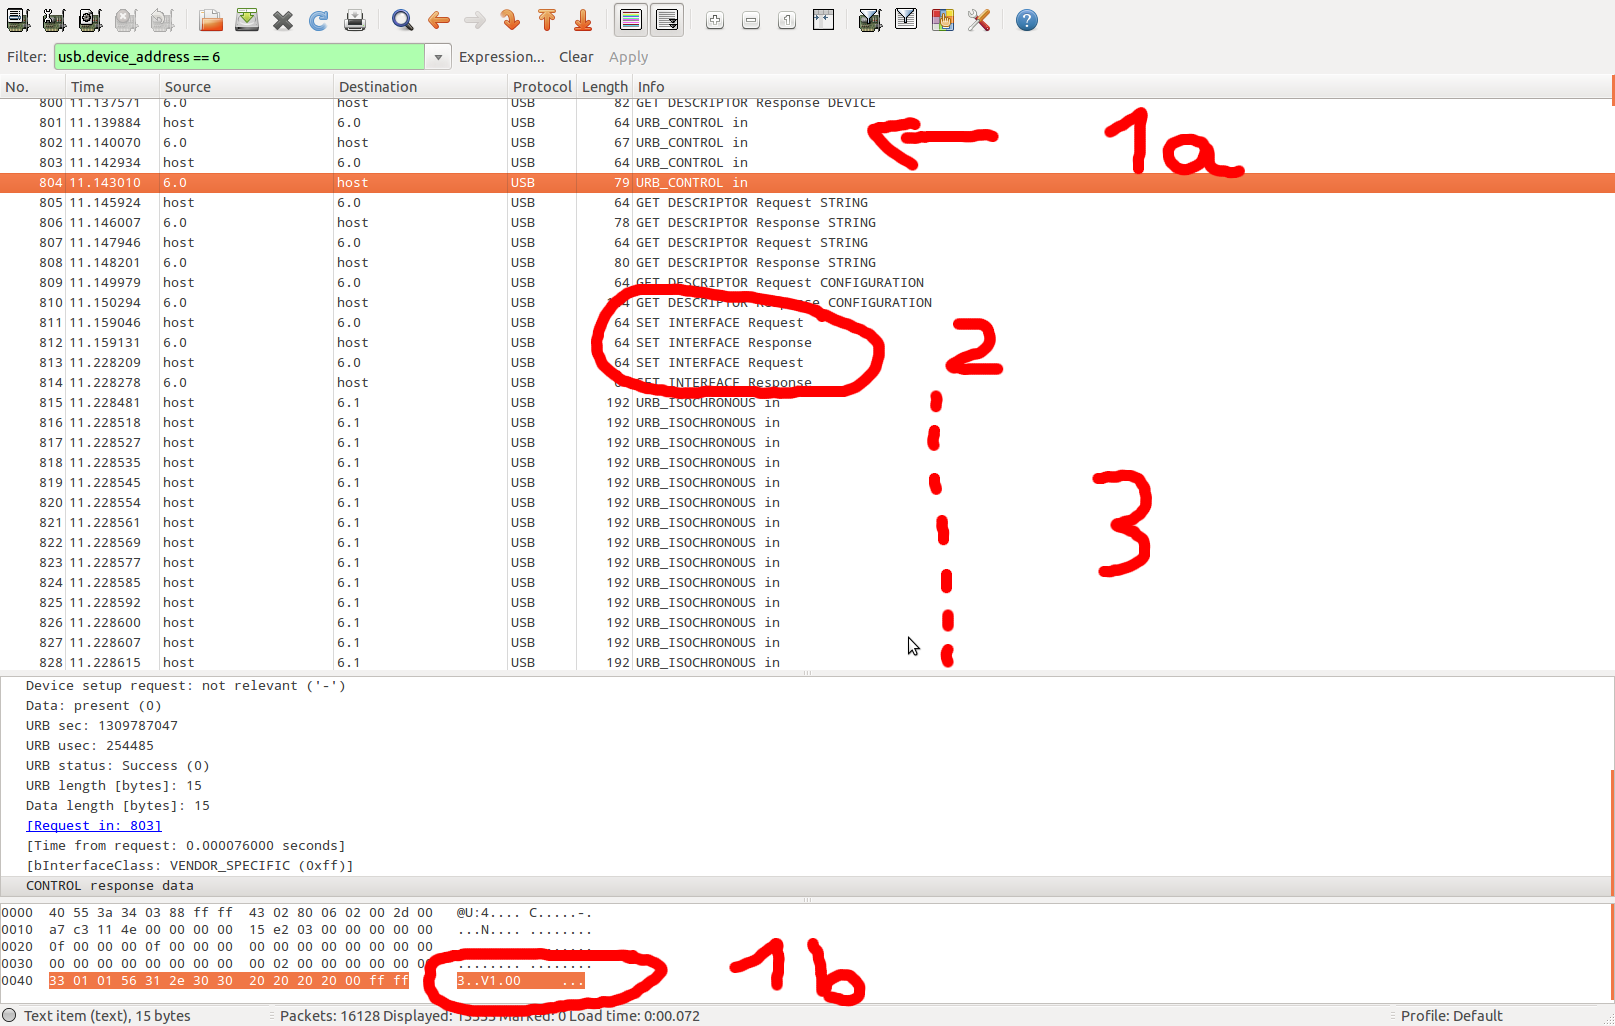
The parts marked as “1a” and “1b” show a control transfer going on. This transfer contains a version number “V1.00”. The same number was shown in the the Windows driver. This is nothing really useful, but it showed me that there was something going on that I could understand.
Section “2” activates the alternate settings of the interfaces. These inferface settings I already spotted in the lsusb data. Directly after activating these settings, wild isochronous transfers begin (“3”).
I switched the soundcard off and on several times and quickly assembled a list of control transfers that take place only when the device is initialized. After that data was transmitted to the soundcard using isochronous transfers. I also found a lot of big bulk transfers from the soundcard to the pc. I also noticed, that the data packets all looked very similar.
Based on my observations I decided to write a small programm that just replays all control transfers I found. Most of the transfers contained values I did not understand. Others were obvious (like the version number). The program continuously reads bulk data packets from the soundcard and sends packets containing only zeros. You can get the simplified source code here:
Don’t expect too much from this program. It doesn’t do anything useful yet. It plays silence and discards all data it reads from the soundcard. It shows you what I did to communicate with the device and you might use it as an example of how to use the libusb. I will extend this program to actually do something in another post.
Conclusion
My approach was successful. The dataflow started and inspecting it with Wireshark showed similar behaviour to the original driver. I successfully transmitted data to the soundcard and read data from the soundcard. I didn’t need to take care of any timing. Sending and receiving data as fast as possible works because the soundcard refuses to recieve data as long as the previous packet wasn’t processed. Receiving data from the soundcard only works when a complete data packet is available. Once it has been transmitted the soundcard refuses to send data until a complete new packet is assembled.
The biggest problem still was unsolved: I didn’t have any idea what data the packets contained. This is discussed in a different blog post.